How to export from JITX into Altium Designer
We can export a JITX design to an Altium project that includes a .pcbdoc, a .schdoc, as well as a .pcblib and .schlib.
NOTE: Our extension is verified to work for Altium versions 18 through the latest version 22.8.
If you have not installed the Altium extension, follow the instructions for Installing the JITX Altium Extension. JITX and Altium should be installed on the same computer and able to launch at the same time.
Set up export-cad
We configure an export to Altium in our program by first creating a new design in JITX. Then, add the following code to the end of your main.stanza file.
set-main-module(my-design)

val board-shape = Rectangle(10.0, 10.0)

pcb-board my-circuit-board :
  stackup: my-stackup
  boundary: board-shape
  signal-boundary: board-shape

  layer(Silkscreen("F-silk", Top)) =
    Text("Board v1.2.3", 2.54, C, loc(0.0, 0.0))

set-board(my-circuit-board)
set-current-design("jitx-design")
set-export-backend(`altium)
set-use-layout-groups()
export-cad()
set-current-design("jitx-design") This sets the directory where our Altium project will be created
set-export-backend(`altium) This specifies that Altium should be used for export.
set-use-layout-groups() This defines that components should be grouped in the generated layout by layout-group.
export-cad() Run the exporter.
Open Altium and run the design
Launch Altium, activate a license, and close all documents.
In JITX, run a generator that includes the export functions defined above.
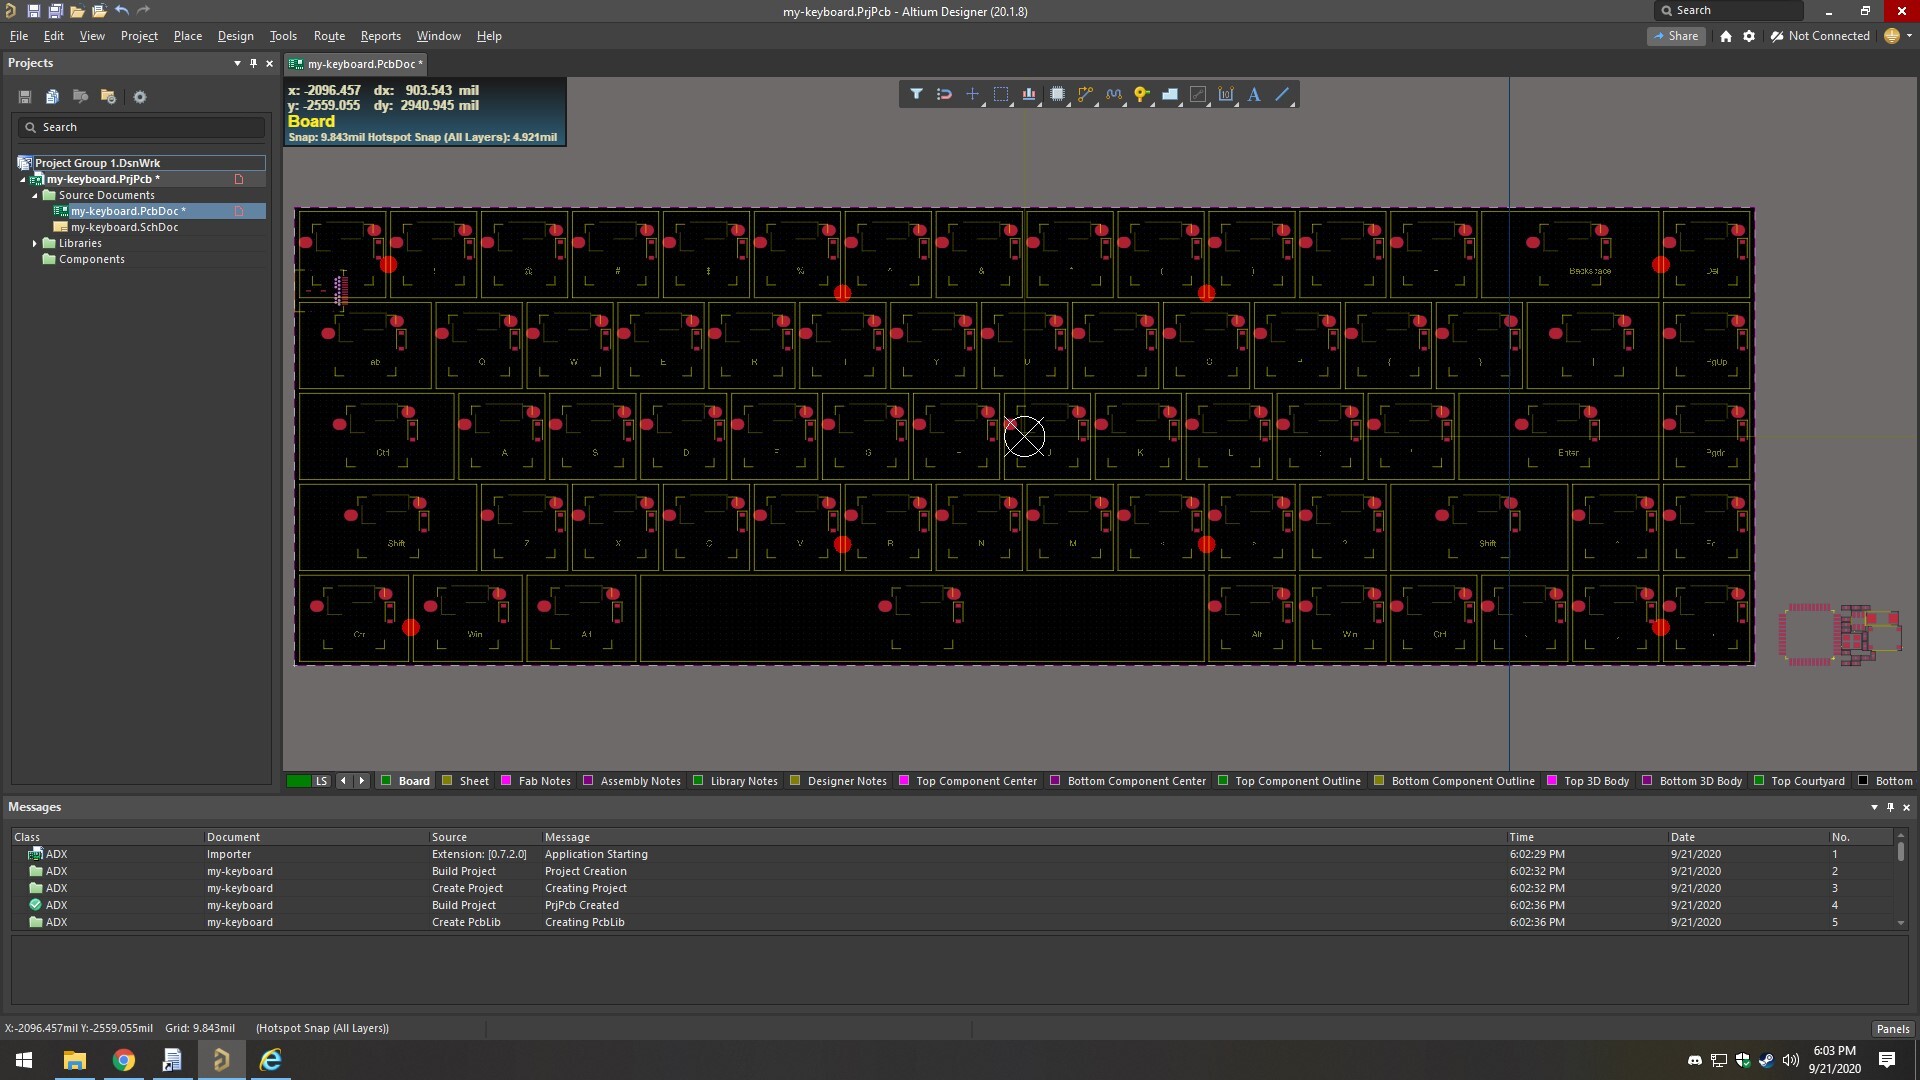
The extension will read in your file and build an Altium project for you. Do not touch anything in Altium while the files are being generated. A large design may take a couple of minutes, and you'll see messages appear in the status bar in the lower left corner of the screen.
After the Altium project is created, synchronize the schematic and layout to finalize the new project.
Running DRC
See Altium DRC errors in the known issues for further steps on running Altium DRC on an exported design.