Installation Instructions for the JITX App
This page walks you through the steps to install and log in to JITX.
Before using JITX, you must set up your JITX account -- instructions have been sent via email.
JITX is shipped as an extension for VS Code. Therefore, we first install VS Code and then add the JITX extension for VS Code.
Steps:
1 Install Visual Studio Code
The JITX compiler and UI are integrated with VS Code. VS Code is an integrated development environment (IDE) which integrates tools for development including an editor, compiler, and source control. To install VS Code:
- MacOS
- Linux (For Ubuntu use:
sudo apt-get install code- do not use snap, which installs an old version) - Windows (we can also install from Microsoft store)
2 Install the JITX VS Code Extension
There are two ways to install the JITX VS Code extension.
Method 1: Install from the Visual Studio Marketplace
Follow the instructions from the marketplace: While in VS Code, Ctrl-P, enter ext install JITX.jitpcb-vscode in the text box and then press Enter to install the JITX VS Code extension directly.
Method 2:
Click the Extensions icon ![]() in the Activity Bar, search for "jitx" and install it.
in the Activity Bar, search for "jitx" and install it.
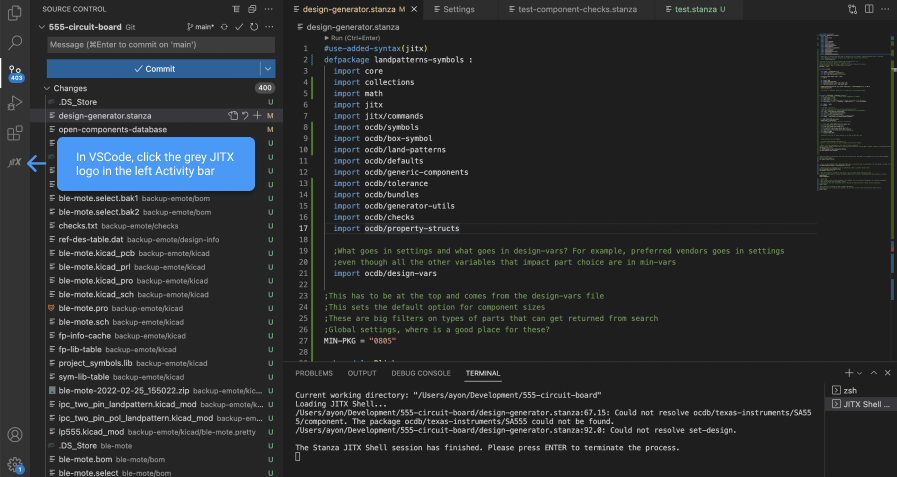
3 Open the sidebar
Click on the JITX icon in the left hand activity bar to open the JITX sidebar.
4 Login to JITX
Click the JITX icon ![]() in the Activity Bar and sign in with the username and password you created using the link from the welcome email.
in the Activity Bar and sign in with the username and password you created using the link from the welcome email.
That's it! You're ready to start designing circuit boards in JITX. Next section: Your first JITX design