Installation Instructions for the JITX App#
This guide walks you through the steps to install and log in to JITX.
Before using JITX, you must set up your JITX account – instructions have been sent to the email address that was used to sign-up. If you haven’t received the email, please check your spam folder.
JITX is shipped as an extension for Visual Studio Code. Therefore, we first install VSCode and then add the JITX extension for VSCode.
Note: JITX also requires Python 3.12 or later to be installed on your system.
Steps#
Install Visual Studio Code#
VSCode is an integrated development environment (IDE) which provides a cohesive development experience including an editor, compiler, and source control. The JITX compiler and UI are integrated with VSCode. To install VSCode:
Install Python#
JITX requires Python 3.12 or later to be installed on your system.
You can download and install Python from the official Python website. See also the VSCode Python Tutorial for details on how to set up python in VSCode.
After installation, verify that Python is installed correctly by running the following command in your terminal or command prompt: python --version
Install the JITX VSCode Extension#
Click the Extensions icon ![]() in the Activity Bar, search for
in the Activity Bar, search for jitx and you will see the following listing:
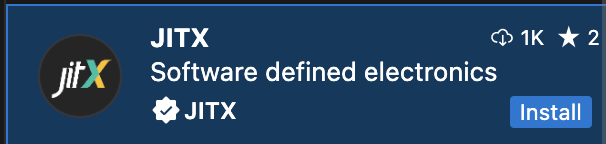
Click the Install button to start the installation process.
Open the sidebar#
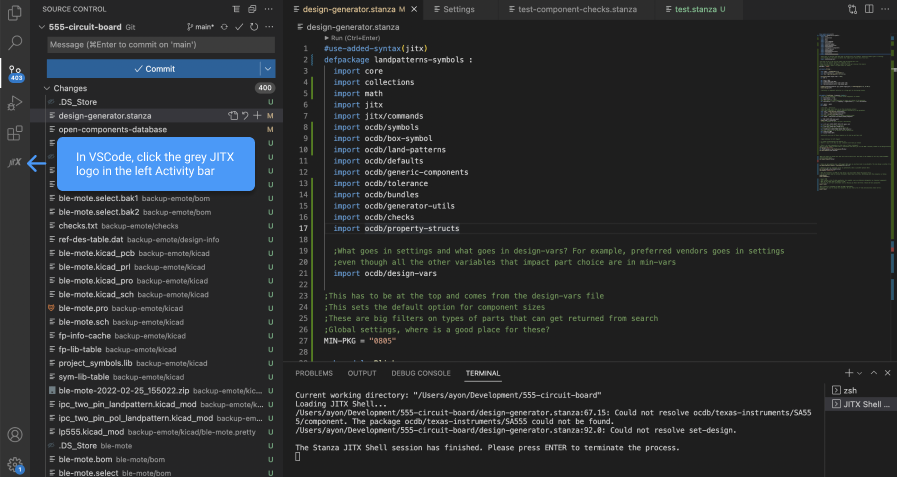
Click on the JITX icon in the left hand activity bar to open the JITX sidebar.
Login to JITX#
Click the JITX icon ![]() in the Activity Bar and sign in with the username and password you created using the link from the welcome email.
in the Activity Bar and sign in with the username and password you created using the link from the welcome email.
Continue to next tutorial Tutorial: Creating a new Project